Client onboarding is one of the most critical phases in business operations, yet it’s often overlooked. Whether you’re in a B2B or service-based industry, ensuring a smooth transition from sale to delivery is essential for customer satisfaction and long-term success. Inefficiencies in onboarding can leave deals stagnant within your CRM, causing delays in value delivery and a less-than-stellar first impression for your clients.
This article walks you through a transformative 5-step automated workflow for client onboarding, leveraging tools like HubSpot, Airtable, and Zapier. By the end, you’ll understand how to craft a seamless, repeatable process that ensures a high level of professionalism while saving time for both you and your clients.
Why Automating Client Onboarding Matters
Before diving into the specifics, let’s assess why automation is a game-changer:
- Speed: Automation ensures that critical steps like sending emails and assigning team members happen instantly, reducing delays.
- Consistency: Clients receive the same high-quality experience, minimizing the risk of human error.
- Scalability: With automation, your onboarding process can grow alongside your business without overburdening your team.
- Professionalism: Automated customization, such as pre-filled forms, enhances client interactions and portrays a polished image.
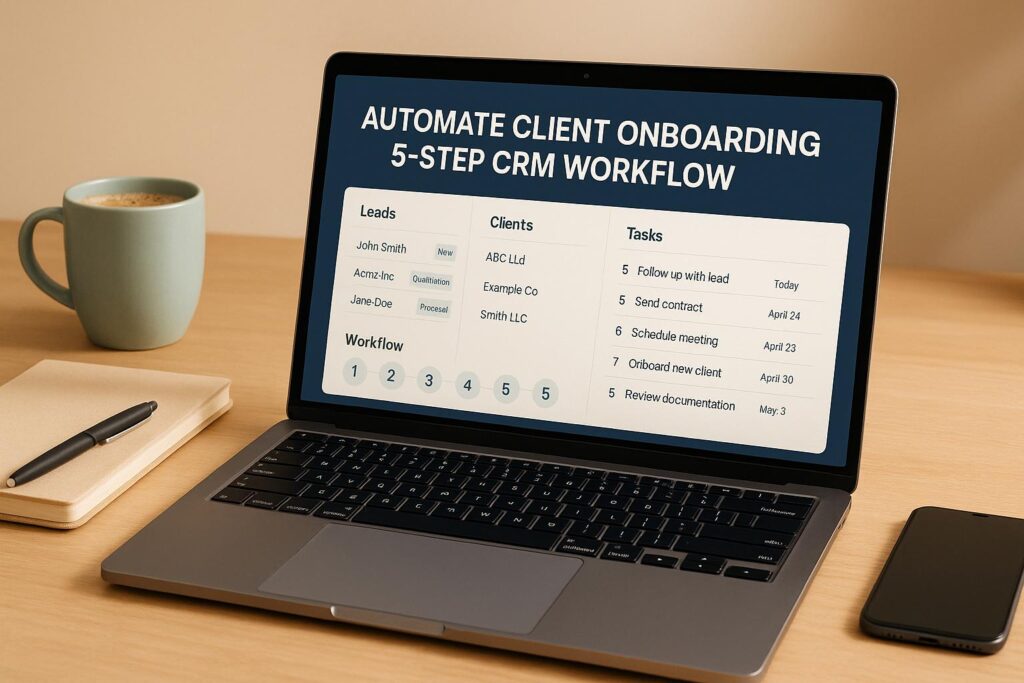
Now, let’s break down the 5-step workflow for automating client onboarding and explore the tools and strategies that make it effective.
sbb-itb-0ae5139
Step 1: Integrating Your CRM and Setting Key Fields
Your CRM serves as the backbone of your onboarding process. In this example, HubSpot is used, but the workflow applies to other platforms like Salesforce, ClickUp, or Airtable. Start by creating two custom fields within your CRM:
- Onboarding Email Sent: Tracks whether the initial welcome email has been sent to avoid duplication.
- Onboarding Form Submitted: Monitors form completion, enabling automated follow-ups if necessary.
These fields act as triggers for subsequent steps in the onboarding process, ensuring all actions are systematically recorded.
Tip:
If you’re using a custom-built CRM, ensure it supports event triggers and API integrations for maximum flexibility.
Step 2: Customizing and Automating Intake Forms
An intake form is your primary tool for gathering essential client information, such as contacts, service preferences, and documents. Using tools like Fillout, JotForm, or Google Forms, you can streamline this step. Key features to implement:
- Field Customization: Include fields for products/services, go-live dates, and document uploads.
- Automatic Scheduling: Link your form to a calendar tool (e.g., Google Calendar) so clients can schedule kickoff calls directly.
- URL Parameters for Pre-Filled Data: Use dynamic URL parameters to pre-fill form fields with client information such as name and company. This eliminates repetitive data entry for the client.
Pro Tip:
Tools like Fillout often integrate directly with CRMs and project management platforms, reducing the need for additional connectors like Zapier.
Step 3: Automating Project Setup in Airtable
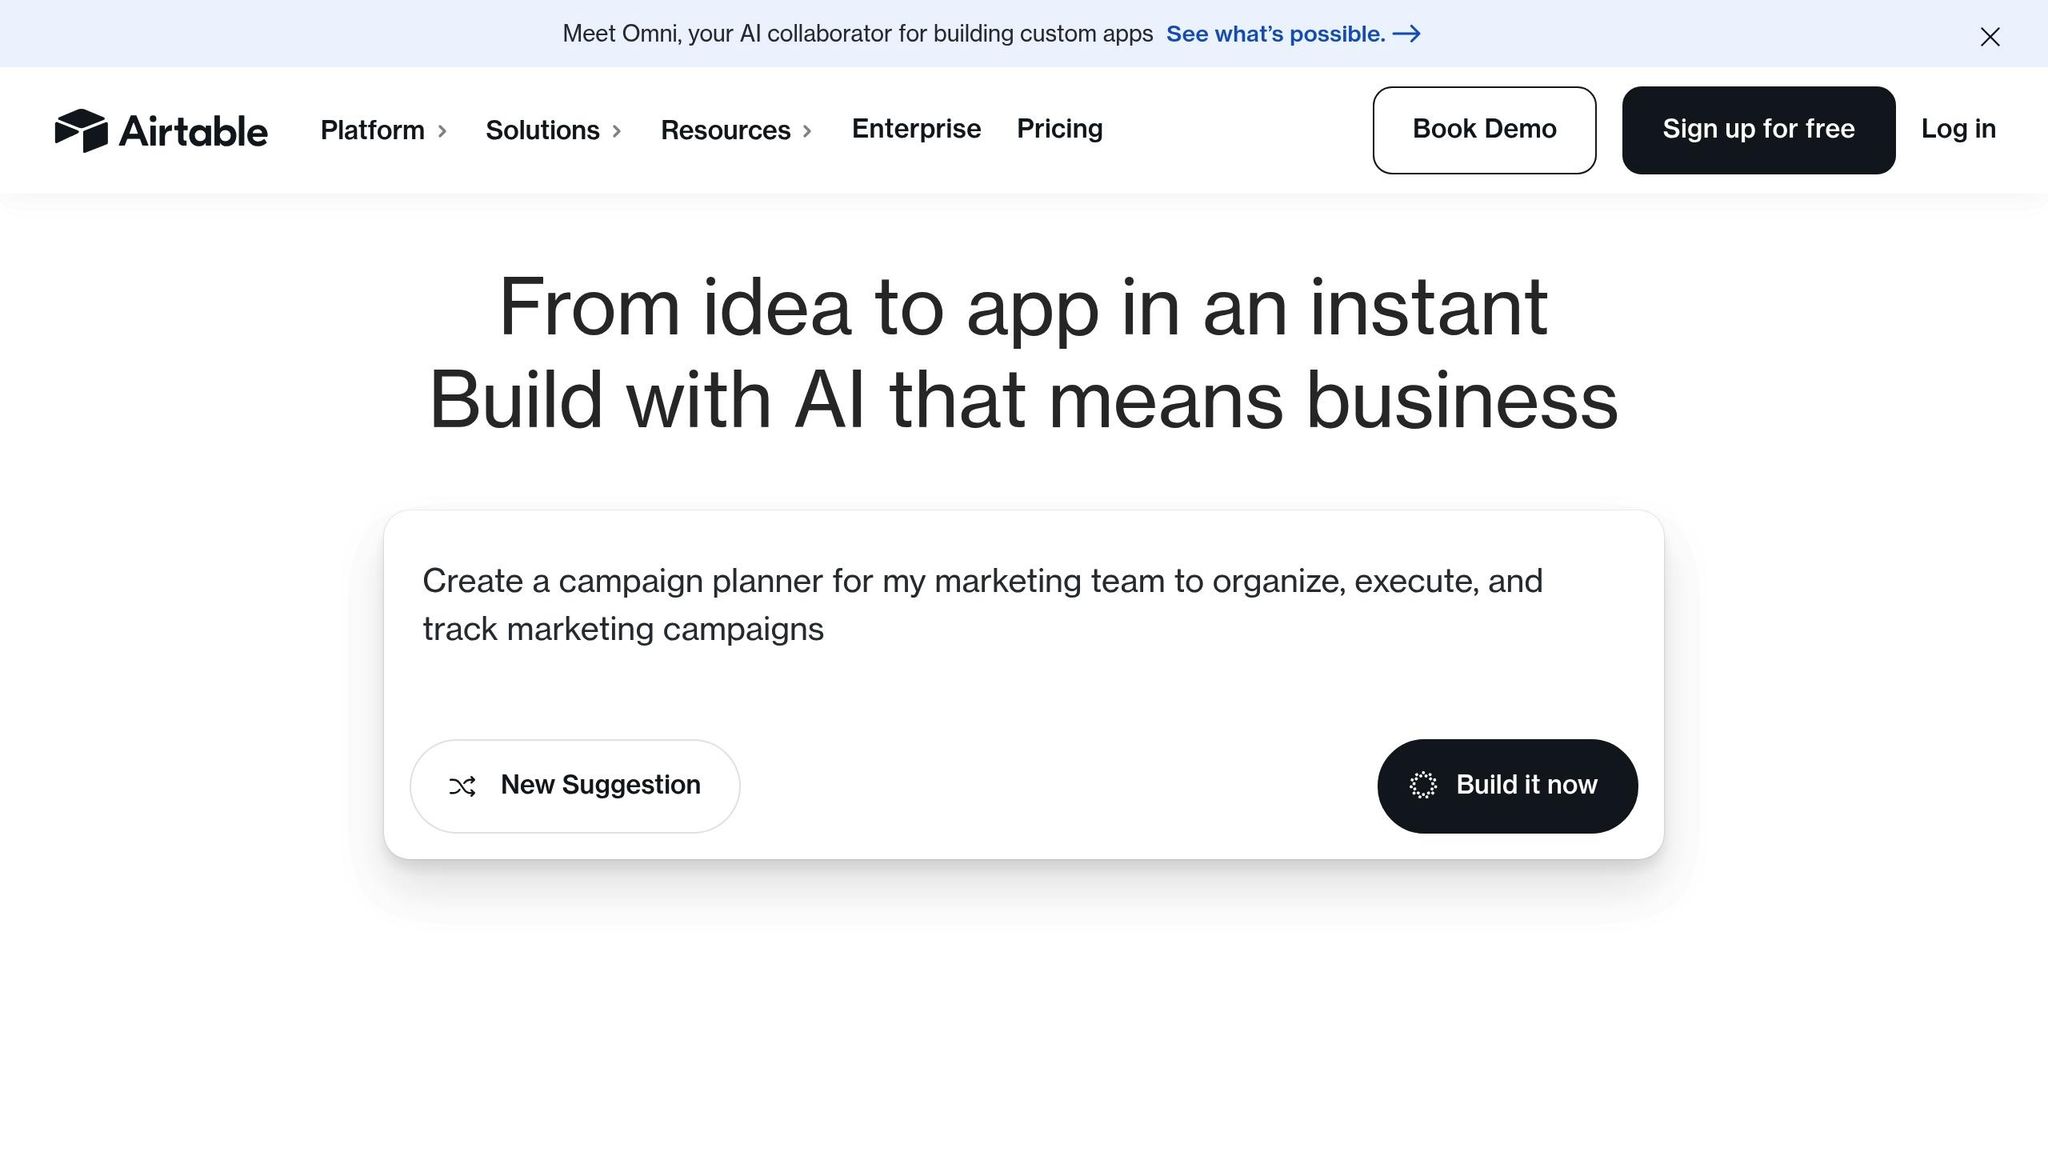
Once a client submits the intake form, the data should be automatically captured in your project management system. Airtable excels at this, allowing you to:
- Create Project Templates: Predefine fields like project status, go-live date, and assigned team members.
- Centralize Data: Link project data with client and team information for seamless collaboration.
- Enable Real-Time Updates: Ensure all stakeholders have visibility into the project status.
By automating this step, your implementation team can begin work immediately, minimizing delays in delivering value to the client.
Step 4: Building the Workflow in Zapier
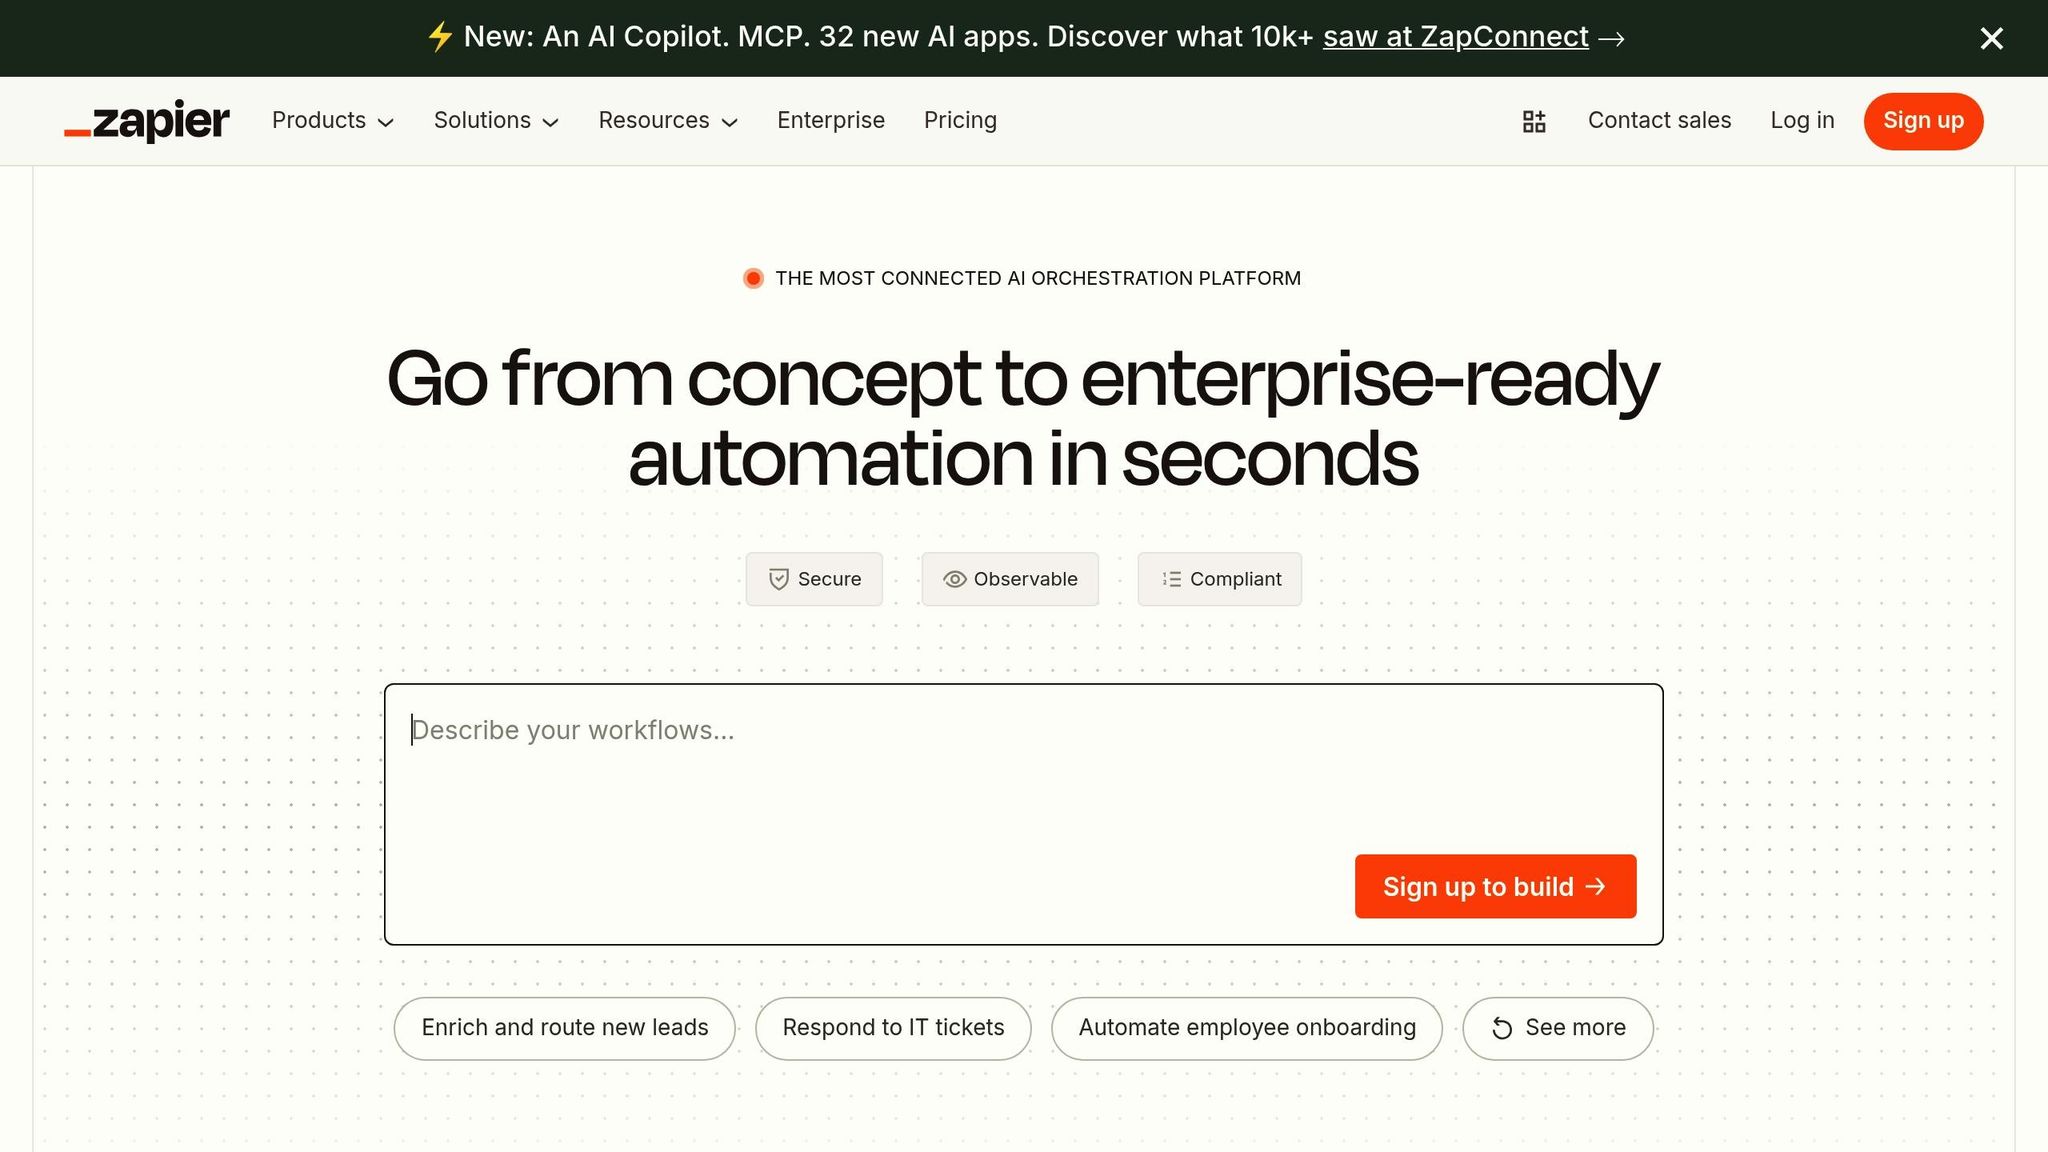
Zapier acts as the glue that connects your CRM, form provider, and project management system. Here’s a simplified version of the automation flow:
- Trigger: The workflow starts when a deal in your CRM reaches a specific stage (e.g., "Deal Won").
- Filters: Ensure emails are only sent if the "Onboarding Email Sent" field is blank.
- Prefilled Links: Generate a customized link for the intake form using client data stored in the CRM.
- Email Automation: Send a welcome email with the prefilled form link and instructions for scheduling a kickoff call.
- Reminders: If the form isn’t completed, set up a loop to send automated reminders over a specified timeframe (e.g., daily for three days). On the fourth attempt, notify your team to follow up manually.
Advanced Tip:
Zapier’s integration with AI tools allows you to generate dynamic email templates and prefilled links with minimal setup.
Step 5: Finalizing the Setup and Implementation
The last step activates when a client submits the intake form. Here’s how the automation continues:
- Trigger: A new form submission prompts Zapier to update records in Airtable.
- Data Organization: Populate Airtable fields with client details, project templates, and team assignments.
- Team Notifications: Send an automated email to the assigned team member, providing all the information they need to join the kickoff call and begin implementation.
This ensures a seamless handoff from sales to implementation, eliminating manual data entry and miscommunication.
Key Takeaways
- Centralize Data: Use CRMs like HubSpot to act as the central hub for your onboarding process.
- Create Automation Triggers: Custom fields and triggers reduce manual intervention and ensure consistency.
- Leverage Pre-Filled Forms: Save clients time by pre-populating fields using URL parameters.
- Set Up Reminder Loops: Follow-ups ensure that no client falls through the cracks during onboarding.
- Integrate Tools Flexibly: Airtable and Zapier allow for scalable and reusable workflows across your organization.
- Monitor Progress: Keep track of each onboarding stage with clear signals like email sent statuses and form completions.
Implementing these steps will enable you to offer professional, seamless onboarding experiences while freeing up valuable time for your team.
Conclusion
A well-executed client onboarding process is more than a procedural necessity – it’s an opportunity to establish trust, build strong relationships, and set the tone for a successful partnership. By automating repetitive tasks and optimizing workflows, you can ensure that every client feels valued and supported from the very start.
For tech-savvy professionals aiming to scale their operations, this 5-step automation workflow provides a blueprint for success. By leveraging the right CRM, form tools, and integrations, you’ll not only streamline your operations but also enhance your team’s productivity and your client’s satisfaction.
Source: "Automate Client Onboarding in 5 Steps (Works with Any CRM or PM Tool)" – Wil A. Villaran, YouTube, Aug 4, 2025 – https://www.youtube.com/watch?v=66hqAEjwqeM
Use: Embedded for reference. Brief quotes used for commentary/review.